26 PsychoPy basics
🏢 Lab class
In this lab, you will start to create our own experiments using PsychoPy, a piece of software developed by Jon Peirce here at the University of Nottingham. With PsychoPy, the most important thing will be that you try things out. Remember that you cannot break PsychoPy1, so nothing can go wrong!
We will demonstrate how to …
- Launch PsychoPy.
- Unzip a zip file containing an experiment and associated files.
- Open an experiment.
- Run an experiment.
- Quit an experiment.
Before we show you these, here are a few key terms you should know:
This is the so-called Builder window:
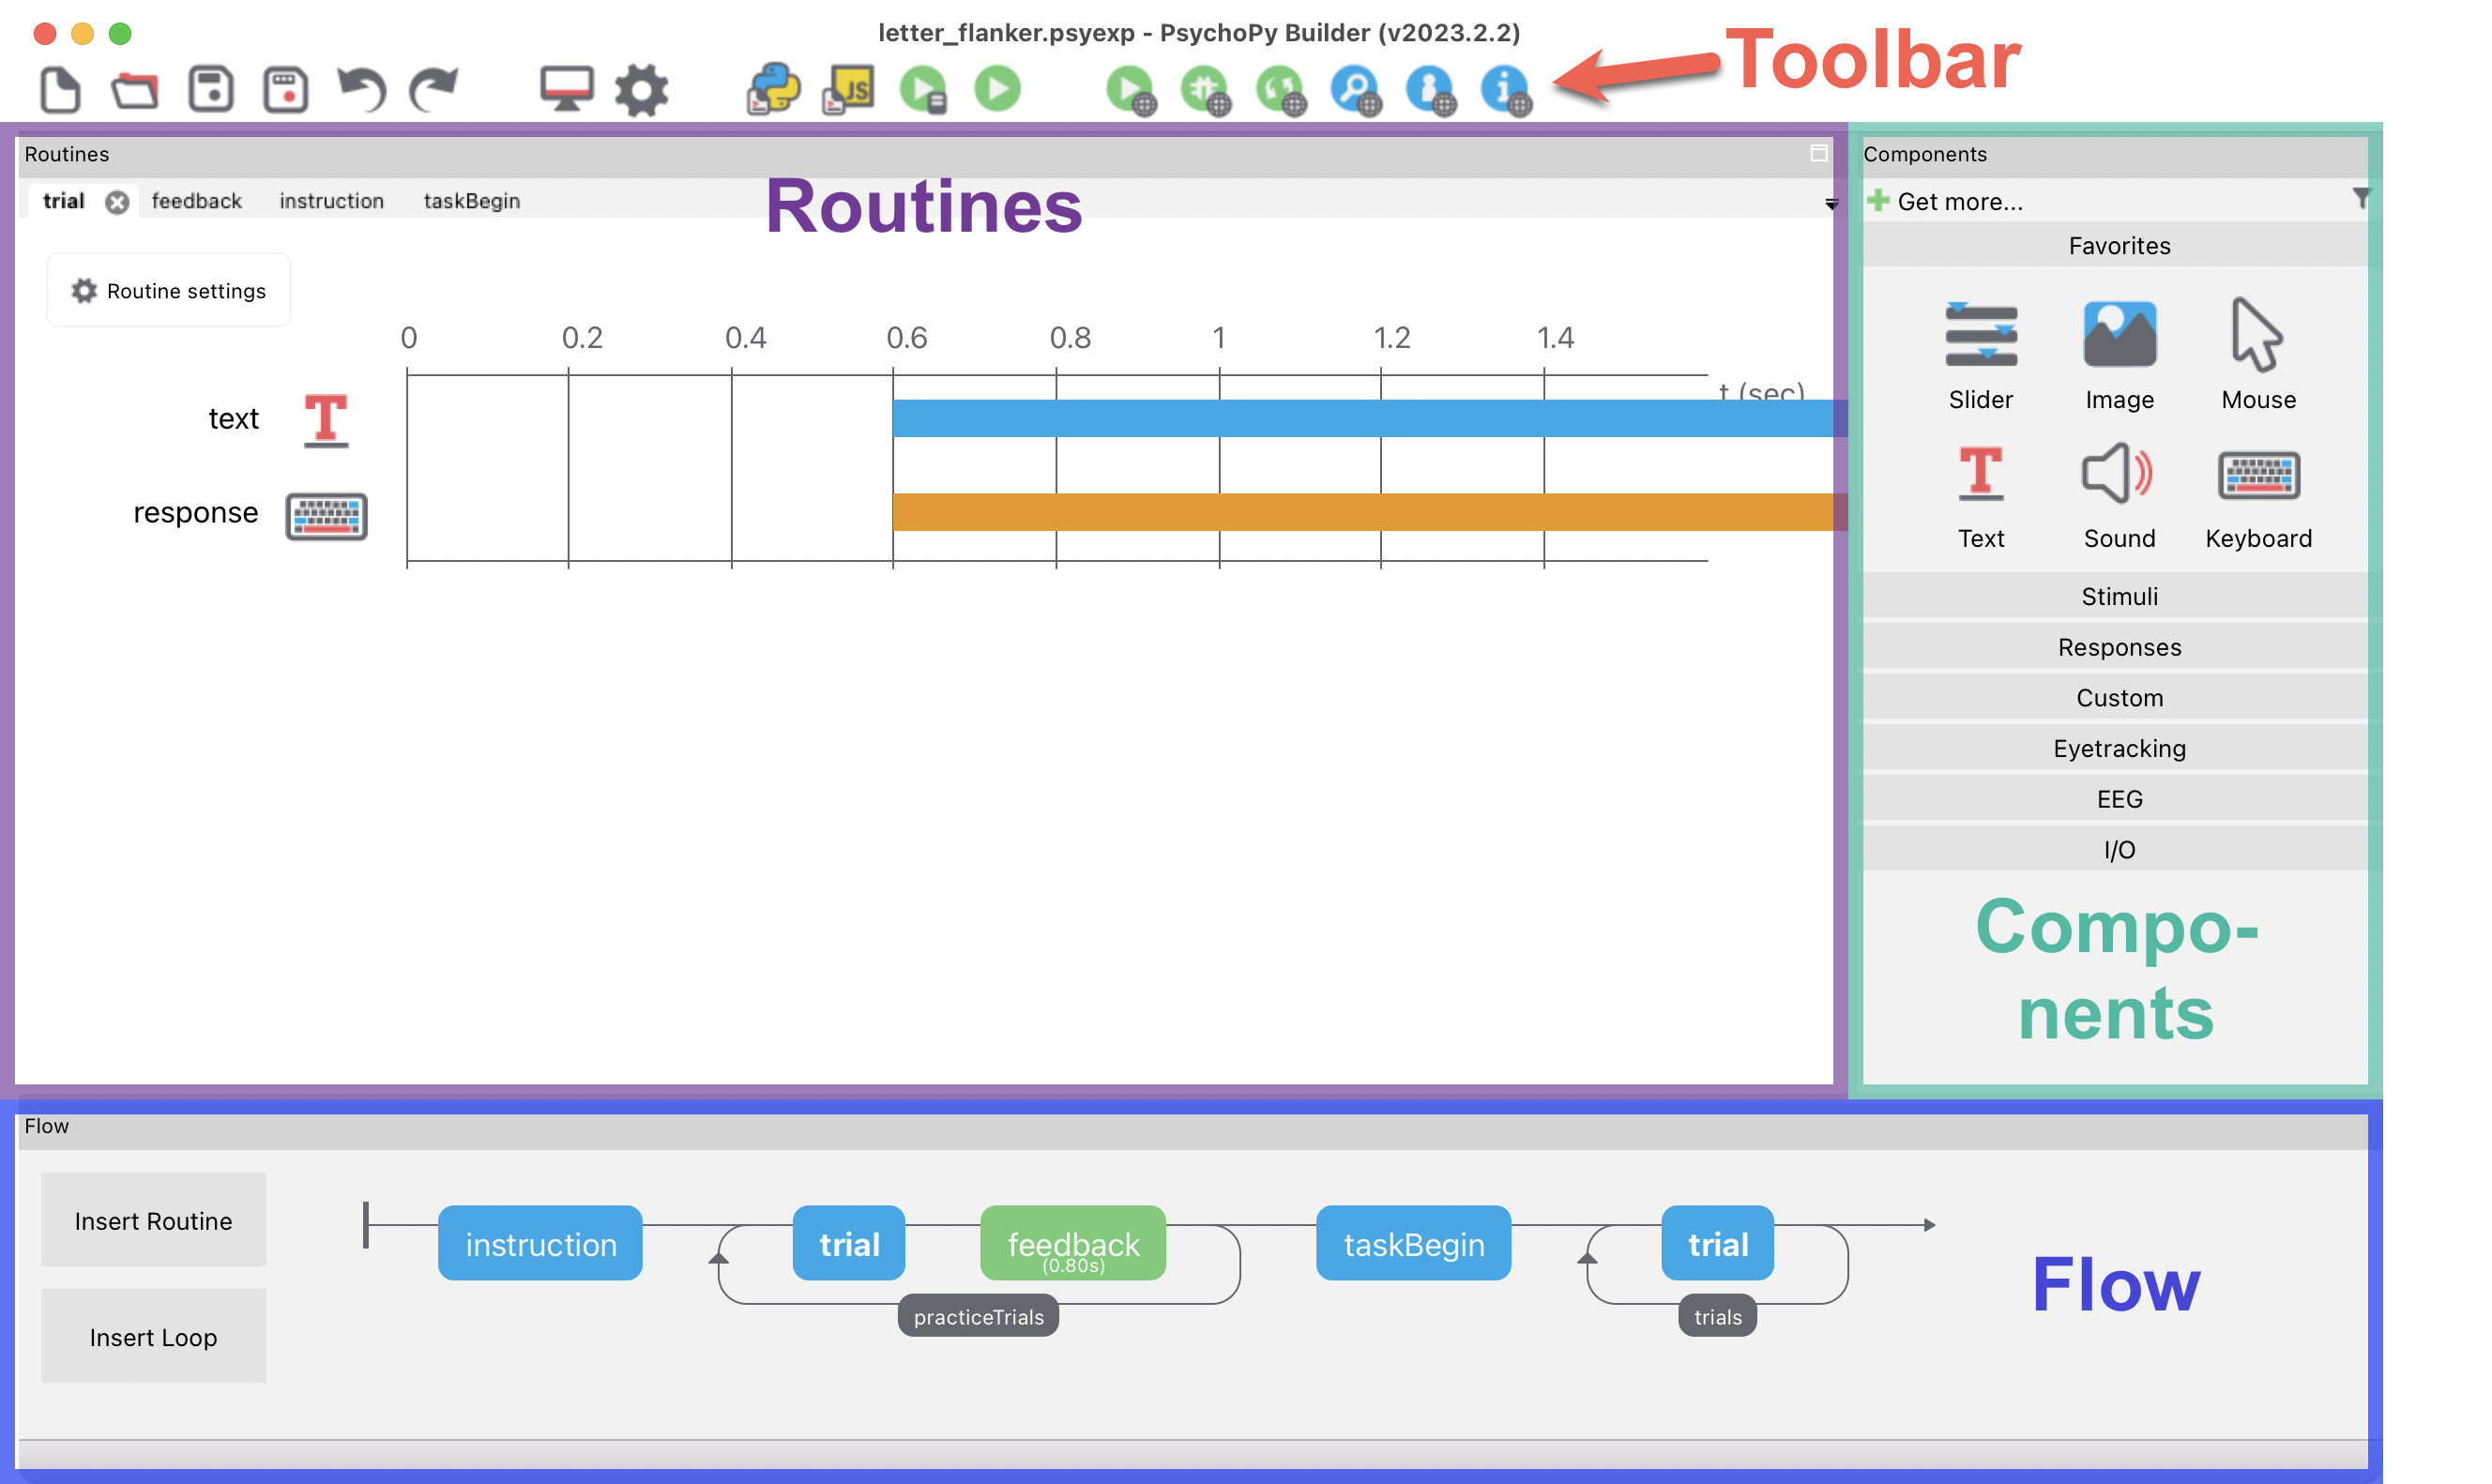
The Builder window has four main divisions: The toolbar, the routines panel, the components panel and the flow panel.
Here is a brief explanation of what routines, components and the flow are:
Routines
- Think of a routine as a container or a time window within your experiment.
- A routine itself doesn’t show anything; it simply defines a time period where various elements can be presented or responses can be collected.
- For example, you would typically have a routine for your instructions and another for your experimental trials.
Components
- Components are the actual, active elements within a routine. These are the specific things the participant will see, hear, or interact with.
- Examples include Text, Image, and Sound stimuli, as well as response-collecting components like Keyboard, Mouse, or Microphone.
- Each component is placed on the Routine’s timeline, where you define its start time and duration.
The Flow
- The flow is the overall timeline of your experiment. It controls the sequence of your routines.
- You arrange your routines (like “instructions,” “trial,” and “goodbye”) in the flow panel to determine the order in which they occur.
- Crucially, the flow is where you add loops. A loop allows you to repeat a routine or a sequence of routines multiple times.
🏠 Self-study
26.1 Why learn PsychoPy?
We think learning how to use PsychoPy is important for four key reasons: The first reason is that we would of course like you to be able to create experiments. However, we would argue that using PsychoPy also teaches you other fundamental skills:
- Attention to detail: When creating experiments, small things matter. E.g., a period or space in the wrong location could stop an experiment from running or make data not interpretable. Practising this attention to detail is not only relevant for creating experiments, but also for any type of data analysis you will perform during your studies.
- Staying organised: Creating experiments in PsychoPy involves keeping track of multiple files (and likely multiple versions of the same file) and making sure you are using the correct ones when running your experiment. Learning how to keep things organised on your computer is an important transferable skill that is important for other more complex tasks (such as working on a lab report or a final-year project).
- Problem solving skills: No one is born a master and when you start using PsychoPy, things might not work right away. You will likely need to hone your problem solving skills to find solutions to the problems you encounter.
We would argue that the strategies you can use to solve PsychoPy problems are ones that can be helpful in many other contexts. These strategies include:
- Breaking complex tasks down into smaller steps.
- Manipulating only one thing at a time.
- Simplifying things (e.g., by creating a simpler version of the experiment that focuses only on what is not working).
- Using feedback (or, in the case of PsychoPy, error messages) for working out what is going wrong.
- Flexibility. If solving a problem seems impossible, maybe it’s worth taking a step back and trying a different approach.
- Resilience. Persisting when things don’t work is really important. And it’s a great feeling if they eventually do!
The remaining sections in this chapter will describe five basic PsychoPy operations:
- Launching PsychoPy.
- Opening experiments.
- Running experiments.
- Quitting experiments.
- Saving experiments.
26.2 Launch PsychoPy
To launch PsychoPy, click on the PsychoPy icon:

Depending on your operating system and hardware, PsychoPy can take a while to launch (potentially up to a minute or so).
Once PsychoPy has launched, make sure the Builder window is in the foreground:
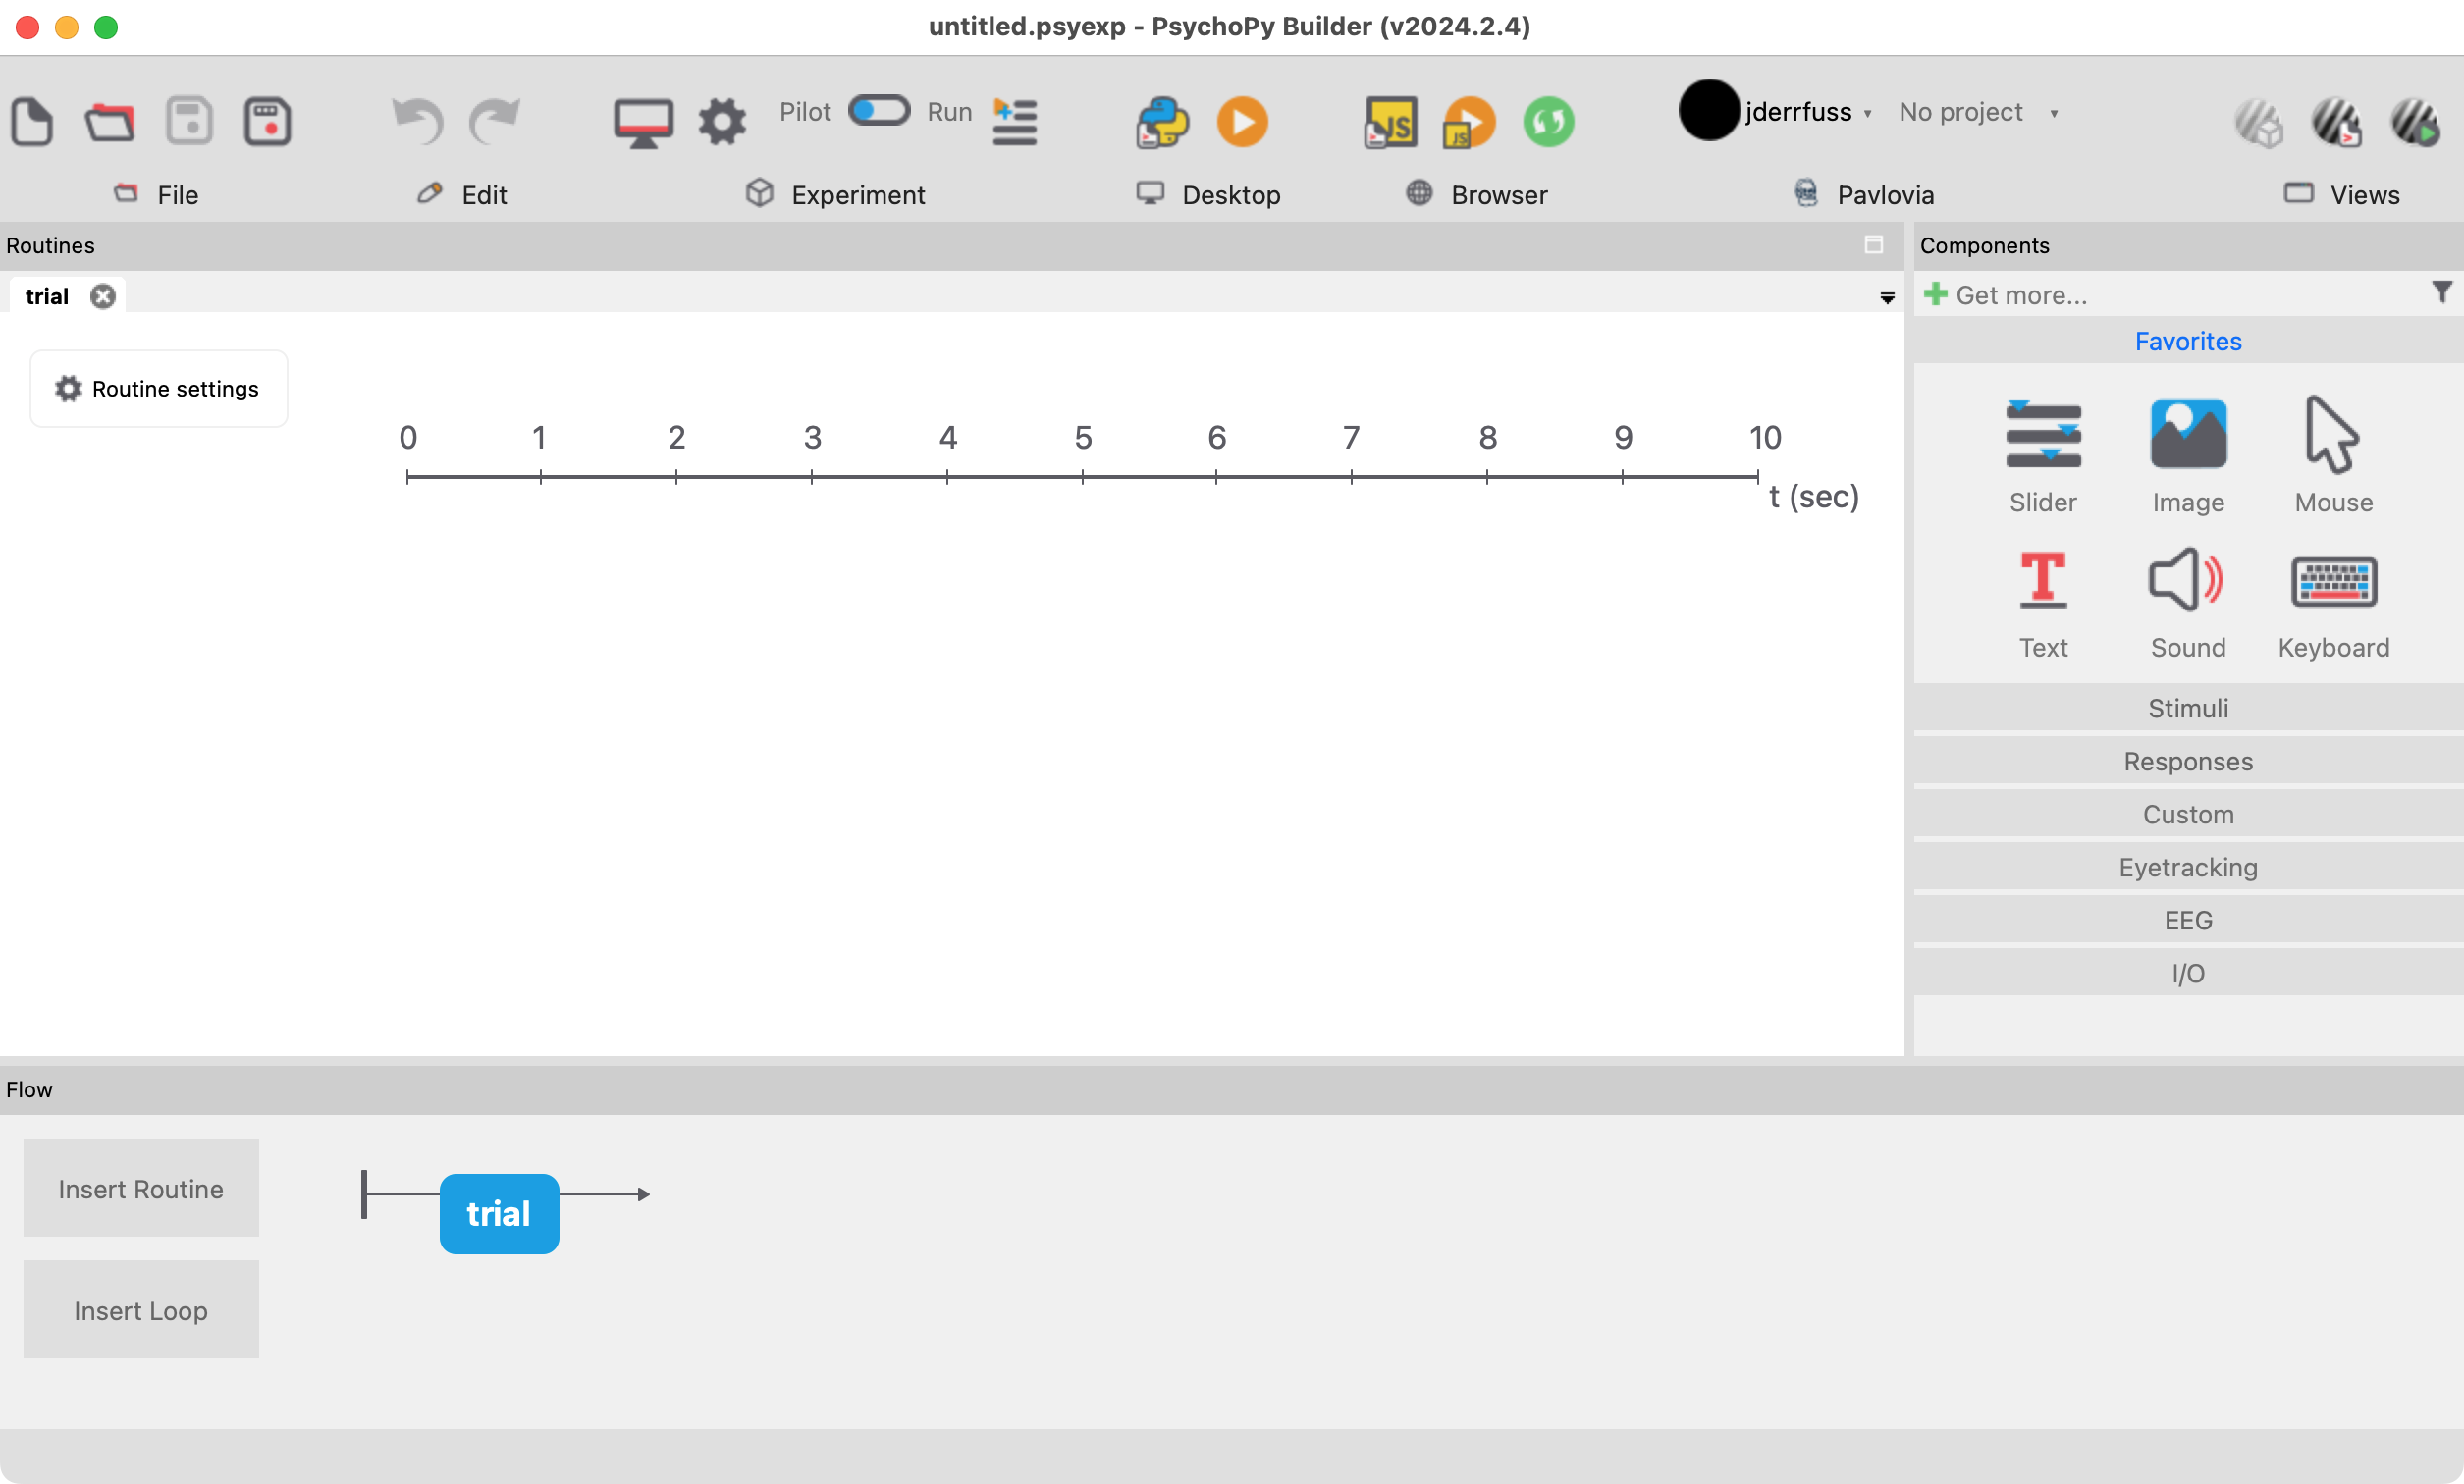
Note that the next chapter will cover the Builder in more detail.
26.3 Unzip an experiment
Download this ZIP file:
By default, the file will probably end up in your Downloads folder. If you use one of the iMacs in the School, we would recommend to move the file to the Desktop. If you use your own laptop, we would recommend to move the file to a suitable location on your hard drive, e.g.:
Year1
├── PSGY1001
│   ├── Lab5
When you have moved the ZIP file to a suitable location, unzip the ZIP file (remember that Section 9.4 explained how to do this). Once you have unzipped the file, open the folder that was created when you unzipped the file. The folder contains these files:
letter_flanker_input.xlsx: This is the input or conditions file for PsychoPy. It defines the conditions for the experiment. Input files will be explained in more detail in a later chapter.letter_flanker_instruct.png: An image of the task instructions. How the instruction image is used is further explained in Section 30.2.letter_flanker.psyexp: The.psyexpfile is the PsychoPy experiment. This is the file you want to open in PsychoPy.
Note: All three files must be present in the same folder for the experiment to run successfully.
26.4 Open an experiment
We recommend the following way to open a PsychoPy experiment file:
- Open PsychoPy.
- Drag and drop the
.psyexpfile onto the Builder window.
There are other options (double-click or right-click), but in our experience drag and drop works best.
For the double-click to work under macOS, you first need to tell macOS that it should open .psyexp files using PsychoPy. Here is how to do this (if you follow these steps exactly, you will need to do this only once):
- Right-click on the
.psyexpfile → Get Info → Open with → Choose… → PsychoPy. - You must then make sure to click on “Change all” and “OK” to confirm.
26.5 Run an experiment
The simplest way to run an experiment is to click on the “Run” icon:

The colour of the Run icon depends on the setting for Pilot vs. Run:

If the toggle switch is set to “Pilot”, the Run icon will be orange. When set to “Run”, it is green.
For now, the key difference between these options is that Pilot mode will not run an experiment in full screen. This can make it easier to quit the experiment when something goes wrong.
26.6 Quit an experiment
You can press the Escape key at any time to quit a running experiment.
If you are running macOS and pressing Escape has no effect, try Cmd + Alt + Escape.
26.7 Save an experiment
To save a new or modified experiment, click on the “Save” icon or the “Save as” icon in the toolbar.

Alternatively, you can press Cmd + S (macOS) or Ctrl + S (Windows).
When working on experiments and running them, we would recommend to always save PsychoPy experiments locally (i.e., not on OneDrive). Once you’re finished with an experiment, make sure to save a copy on OneDrive though, so you have a back-up copy and can also access it from another computer if necessary.
If you are using one of the iMacs in the school, we would recommend to initially save your experiments in separate folders on the Desktop and to copy them to OneDrive at the end of the session. You can copy experiments to OneDrive by opening OneDrive in a browser window, navigating to the folder where you want to save the experiment, and dragging and dropping the experiment onto the browser window.
26.8 Confirmation
Please confirm you have worked through this chapter by submitting the corresponding chapter completion form on Moodle.
And even if you did: You could simply download and install it again!↩︎