27 The PsychoPy Builder
🏢 Lab class
We will use the PsychoPy Builder (as opposed to the Coder) to create experiments. In this chapter, we will show you how to use the Builder to create what we like to call the simplest possible PsychoPy experiment. First watch how the experiment is created, then have a go yourself.
Creating the simplest possible experiment requires just four steps:
- Open PsychoPy and make sure the Builder window is in the foreground.
- Click on the Text component (the red T icon on the right).
- Click on “OK” in the window that opens.
- Click on the disk icon in the toolbar to save the experiment. (You can leave the default file name.)
That’s it! Now let’s run the experiment:
- Click on the Run icon (white arrowhead on orange background above “Desktop”).
- Wait.
- Click on “OK” in the window that opens.
If everything worked, the sentence “Any text/including line breaks” was presented for 1 s.
Let’s take this one step further: We’ll present the text until a response is made. To achieve this, we need to make the following changes:
- Click on the blue timeline (or on the word “text”) to open the properties window.
- Find Stop/duration (s) and delete
1.0. - Click on “OK”.
- Click on the Keyboard component (the keyboard icon on the right).
- Delete
'y','n','left','right','space'in “Allowed keys” (this means that PsychoPy will respond to any key you press). - Click on “OK”.
- Save the experiment.
- Run it.
That’s it - the experiment should now wait for you to press a key before it quits.
Always run PsychoPy experiments from a local copy (but make sure to save a backup copy online - e.g., on OneDrive).
🏠 Self-study
27.1 The multi-course meal analogy
We will use an analogy to help you understand how PsychoPy works. Think of an experiment as a multi-course meal. Then:
- Routines are individual dishes (see Chapter 28).
- Components are ingredients that make up individual dishes (see Chapter 29).
- The flow is our menu (i.e., the order in which the dishes are served).
Like all analogies, it’s not perfect, but it might be a helpful starting point to thinking about experiments in PsychoPy.
27.2 Open the Builder
If you launch PsychoPy, the Builder window will be one of the windows open by default (the others being the so-called Coder and the Runner).
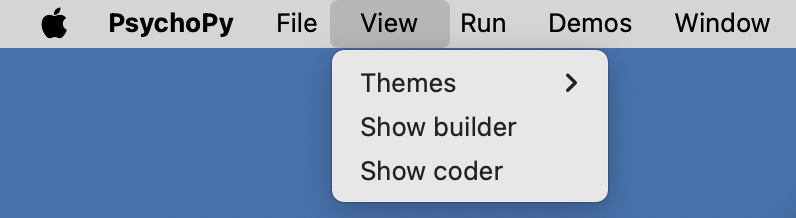
If you accidentally close the Builder window, you can re-open it by clicking on View → “Show builder” in the menu bar:
Alternatively, you can click on the “Show Builder” icon in the “Views” section of the Coder or Runner toolbar, if these are still open.

27.3 The Builder window
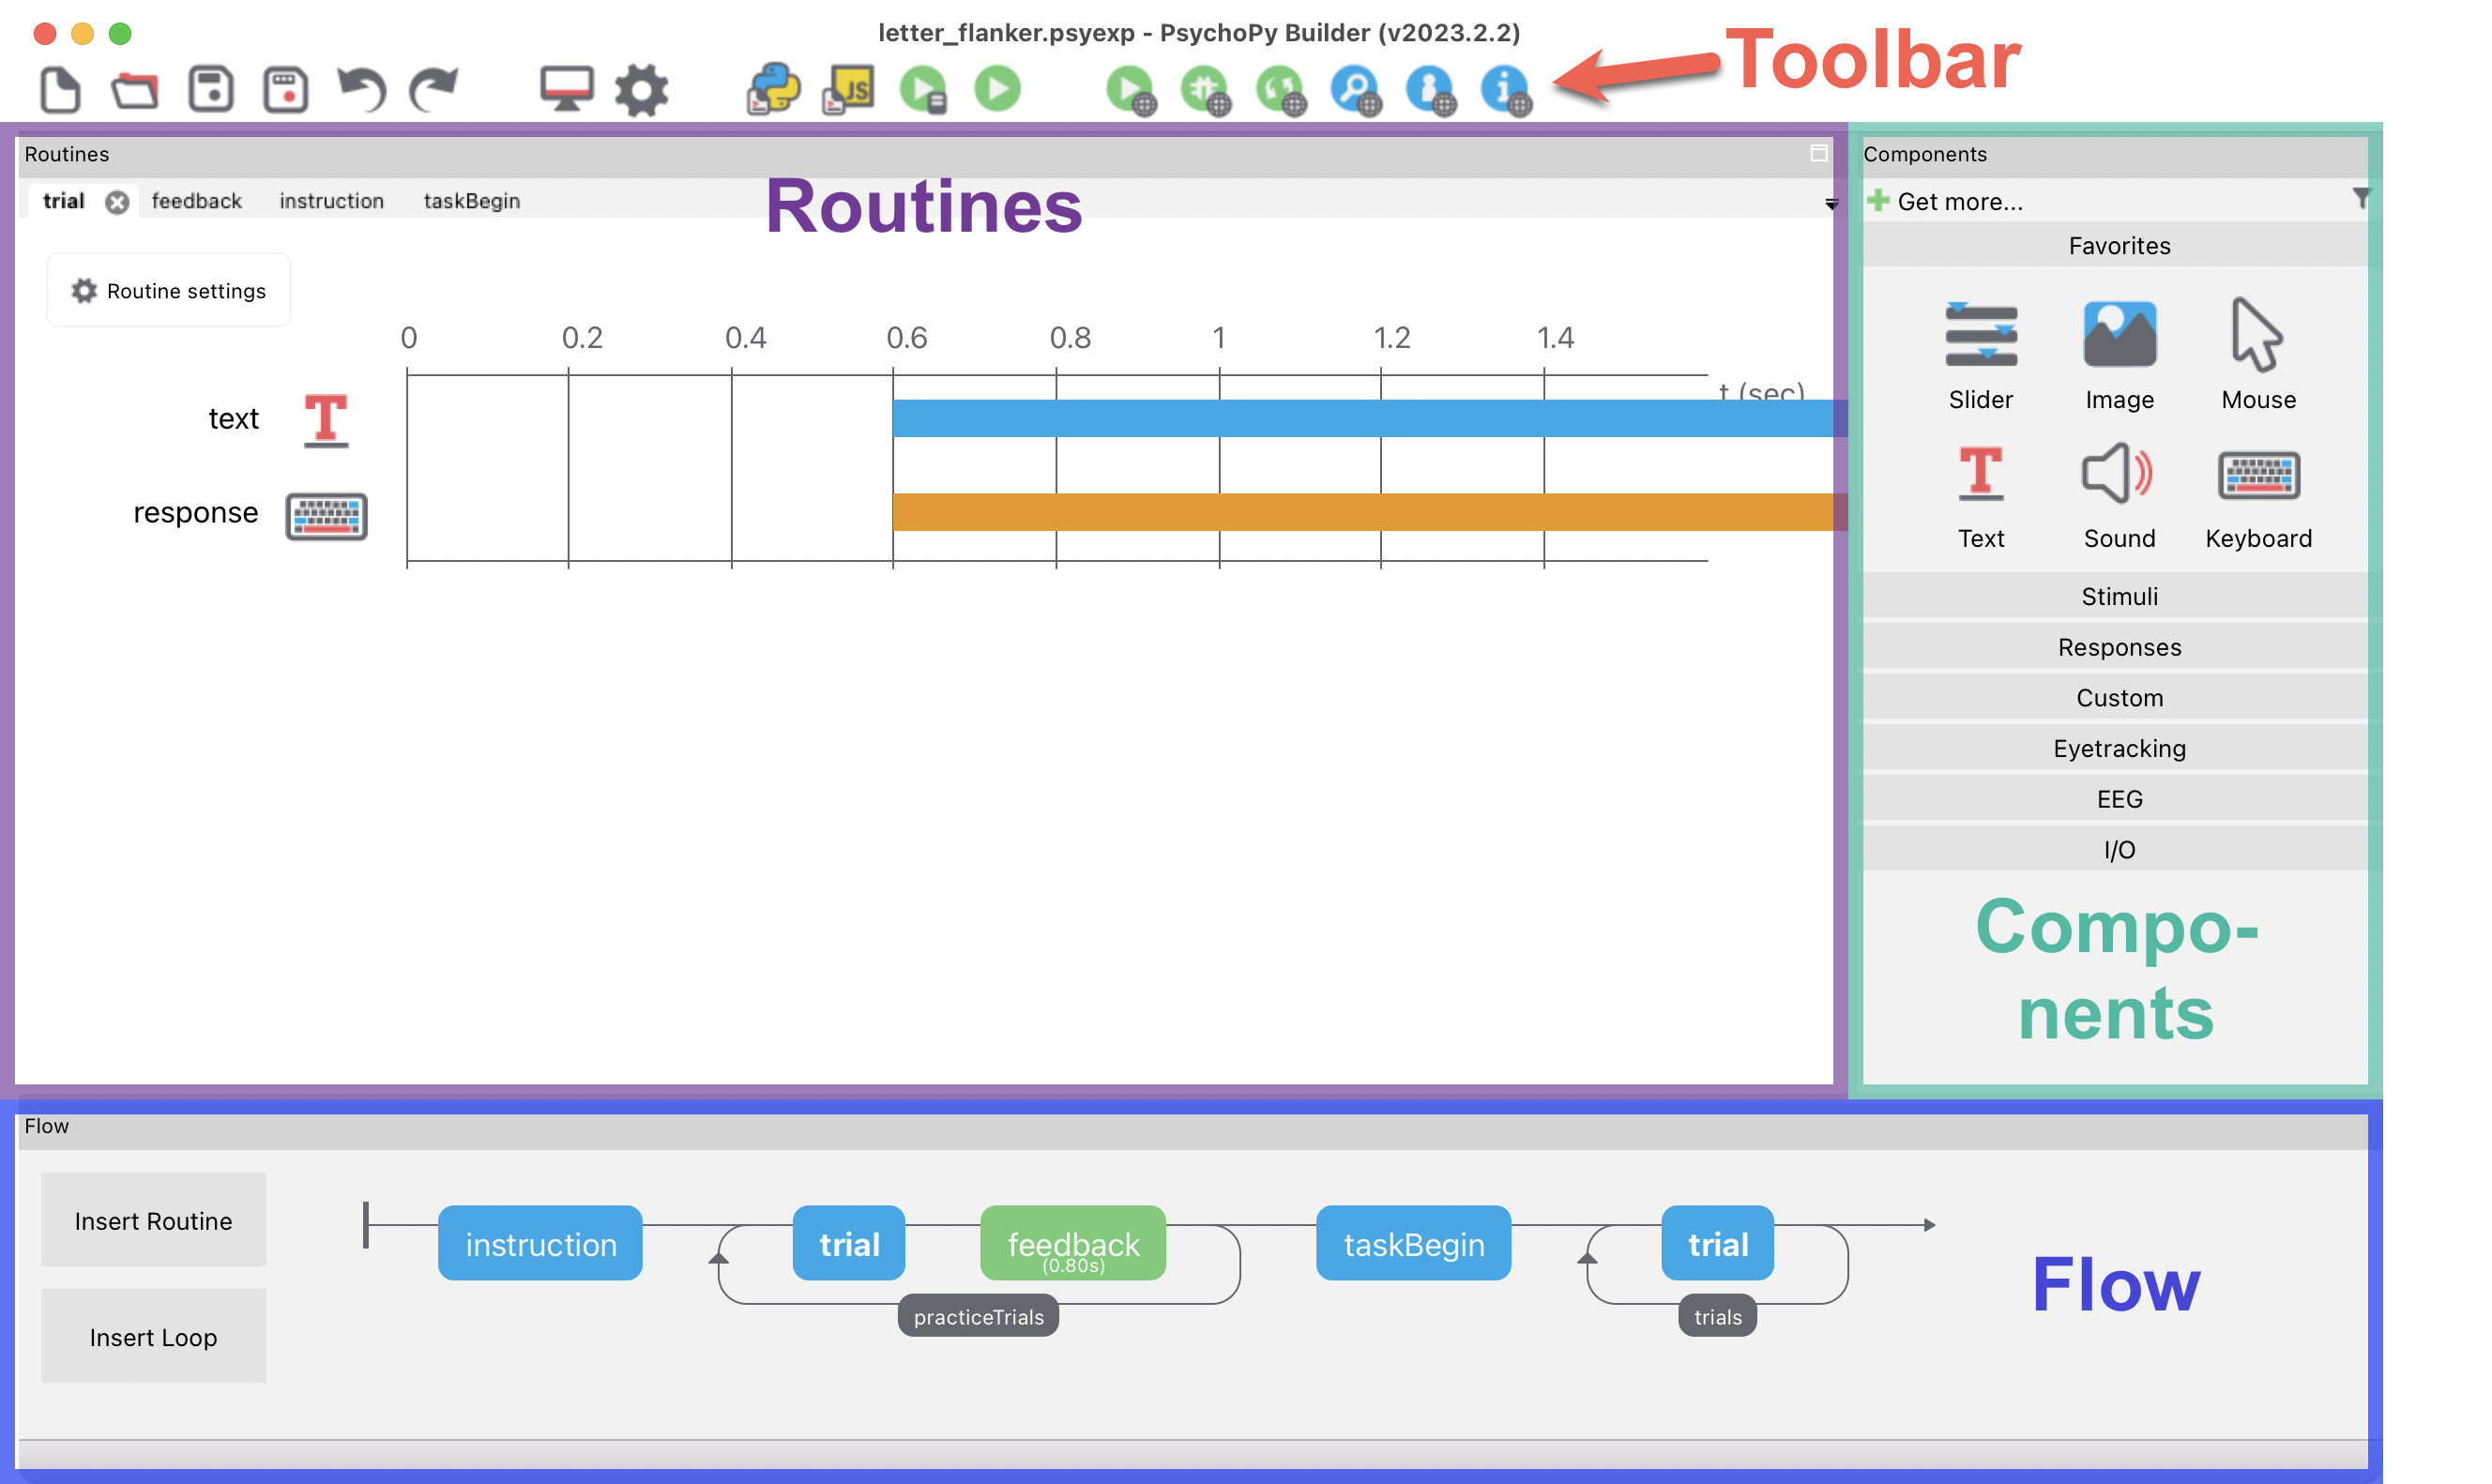
The Builder window has four main divisions: Toolbar, Routines, Components and Flow.
We will go over the toolbar and the flow in this chapter. Routines will be covered in Chapter 28 and components in Chapter 29.
27.4 The toolbar
The toolbar is located at the top of the Builder window:

There are seven groups of icons:
- File: New, Open, Save, Save as.
- Edit: Undo and redo.
- Experiment: Monitor center, Experiment settings, Pilot vs. Run, Send experiment to runner.
- Desktop: Write Python code, Run.
- Browser and Pavlovia: Only relevant for running experiments online. We can safely ignore these for now.
- Views: Switch between/open Builder, Coder and Runner.
If you hover your mouse pointer over the icons, they will tell you what they do. For us, the most relevant of these icons are “Experiment Settings”, “Pilot vs. Run” and “Run”. “Pilot vs. Run” and “Run” have already been covered in Section 26.5. We will therefore focus on the “Experiment settings” below.
Experiment settings
The icon for the experiment settings is a cogwheel:

Most relevant in the experiment settings are the Basic tab and the Screen tab. The Basic tab is where you can change the experiment information that is part of the start-up dialogue that is presented at the beginning of an experiment.
The default setup for Experiment info asks about participant and session:

f"{randint(0, 999999):06.0f}" means that a random six-digit participant number between 000000 and 999999 will be created (this is not there for the flanker experiment, but you will come across this when you create a new experiment).
Here, you can add fields by clicking on a plus sign (e.g., to add fields for age and gender). You can also remove fields by clicking on the minus sign next to a field. Note that you should leave the participant field untouched. PsychoPy expects to find this as is (i.e., including the lower case first letter)!
The Screen tab gives you access to settings such as the background colour. The default background colour is grey:

The three numbers correspond to, in this order, the intensity of red, green and blue (RGB) channels ranging from -1 to 1. Thus, other background colours can be defined in this way:
- black:
$[-1, -1, -1] - white:
$[1, 1, 1] - red:
$[1, -1, -1] - green:
$[-1, 1, -1]
The easiest way to change the background colour though is to click on the colour picker:
![]()
You can then choose a named colour (such as “black” or “cornflowerblue”) simply by clicking on the colour name.
27.5 The flow
The flow depicts the order in which routines will be presented as coloured rectangles ordered from left to right. The colour of a routine indicates whether or not it has a fixed length. If it has a fixed length, it is displayed in green. If not (e.g., if the trial only ends when a response key is pressed), it is displayed in blue.
Some routines might have loops around them (dark grey rectangles with curved arrows). This usually1 means that the routine(s) in the loop will be repeated multiple times (we will talk about this in more detail in Lab 6).
In our flanker task, we start with the routine instruction. This routine will be followed by the routine trial, which will be followed by the routine feedback, etc.:

When routines are repeated in a loop, typically something changes from one repetition to the next. If we were to stretch our analogy a bit, it could be the waiter coming over to your table repeatedly and on each occasion serving a new type of bread: “Here is a slice of bread with walnuts.” “Here is a slice of bread with pumpkin seeds.” “Here is a slice of bread with sunflower seeds.” “Here is a slice of bread with flax seeds.” You get the idea. In our flanker task, the loops update the stimulus from one trial to the next. For example, the first stimulus might be HHHHH, followed by SSHSS, HHSHH, SSSSS and so on. We are going to have a closer look at loops next week.
Also, note that dishes can be served again. That is, routines can be re-used. In our task, we use the routine trial twice. What would be a no-go in a restaurant is a great feature in PsychoPy. If practice and experimental trials require the same components with the same properties, you need to create your trial routine only once and you can then simply reuse it when you need it again!
27.6 Confirmation
Please confirm you have worked through this chapter by submitting the corresponding chapter completion form on Moodle.
A loop has a specific number of repetitions associated with it. If the number of repetitions is set to
0, this can be used to stop a routine or multiple routines from running. This is useful for debugging experiments.↩︎