Chapter 23 Lab 5 exercises
You will have the opportunity to work on these exercises in the lab class. For each of the three exercises, please create a folder with the name of the exercise (e.g., psgy1001/lab5/psychopy_exercises/exercise1, where the / indicates a subfolder within another folder).
23.1 Exercise 1
Start by creating a new experiment. To do so, click on the “Create a new experiment file” icon in the toolbar. This will open a new Builder window with an empty routine called trial. After doing this, you should always save your experiment in your experiment folder. Otherwise, PsychoPy tends to have issues when you later tell it to read input files from your hard disk.
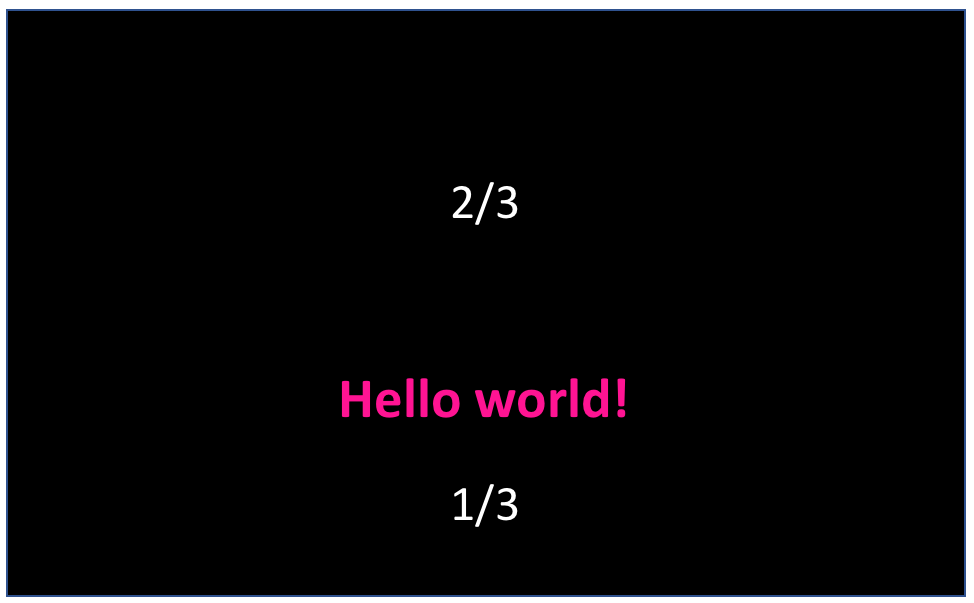
Make PsychoPy display the text “Hello world!” for 3 seconds. After this works, change the background colour of the screen to black.
How do I present “Hello world!”?
Use a Text component. See Section 22.1.
How do I make the trial stop after 3 s?
Pay attention to the “Stop” property of the Text component. See Section 22.1.
How do I change the background colour?
Check Experiment Settings → Screen. See Section 21.5.1.
You can watch a video of the solution here (to watch the video, make sure you are logged into Office 365):
23.2 Exercise 2
Please don’t forget to do this in a new folder. You can copy your experiment from Exercise 1 to this folder, and modify it.
Make PsychoPy display the text “Hello world!” 1 second after the start of the experiment. Present the text for an infinite amount of time. End the presentation only when the key “y” or the key “n” is pressed on the keyboard (but not another key).
The timing isn’t right
Pay attention to the “Start” and the “Stop” properties of the Text component. See Section 22.1.
The trial stops for other keys than “y” or “n”
Check “Allowed keys” in your Keyboard component. See Section 22.3.
The trial does not stop
The trial will only end if “Force end of routine” is ticked and a key that is an “Allowed key” is pressed. See Section 22.3.
You can watch a video of the solution here:
23.3 Exercise 3
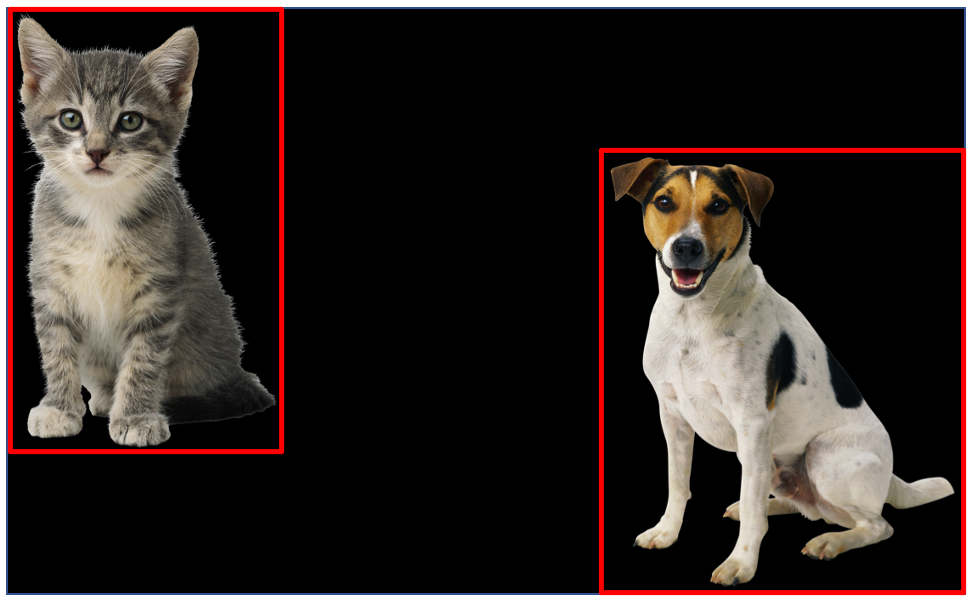
Download the supporting material for this exercise. This is a zip file containing an image of a cat and a dog. Unzip the file and place the images in your exercise3 folder.
Present the cat in the left half of the screen for 5 seconds. Two seconds after the presentation of the cat started, present the dog for three seconds in the right half of the screen. Both animals should be on screen together for 3 seconds. Present the pictures using their original size.
Once this works, rotate the images so they are presented upside down.
PsychoPy does not run
Are you sure the images are in the same folder as your PsychoPy experiment? Are the file names in your image components identical to the file names in your folder (including capitalisation)?
How do I change the location of the pictures on the screen?
You will need to change the x variable of the Position property. If you use norm units, a sensible setting for the cat would be [-0.5, 0]. If you use pixel units, appropriate settings depend on your screen resolution. A sensible setting for a full HD screen (i.e., 1920 x 1080 pixels) would be [-480, 0]. In fact, this would be exactly the same location as [-0.5, 0] in norm units. Can you work out why? Have a look the PsychoPy documentation for units.
The pictures are squashed or stretched
Simply leave the Size field of the Image component empty. See Section 22.2.
The rotation does not work
Note that the Orientation field of an image component requires the number of degrees you would like to rotate the image by.
You can watch a video of the solution here: